| Answer / Solution |
 |

Transcriptionist HR Screen Explained
Summary
The Transcriptionist HR screen provides an easy way to keep track of pertinent information for each transcriptionist.
Requirements:
- An Administrator login ID and password for the IMC.
Location:
- Log into the IMC with your Administrator username and password.
- Click the Administration tab ⇒ Users sub-tab.
- Select a User from the list and click on the HR icon located on the right. Note: Once you are on the HR screen you can select a different transcriptionist from the drop-down menu to manage that profile.

- HR - Settings Slider: You can navigate between the HR view and Settings view on the transcriptionist profile by clicking to select the desired view.
.jpg)
Options
- Scheduled Events: This section includes a list of scheduled events for the selected transcriptionist. The list includes a Date, Description, and the Creator of the event. From this list you can Edit, mark an event as Completed, or Delete an event from the list. These events will be available on the Account Dashboard screen. See KB685 for details.
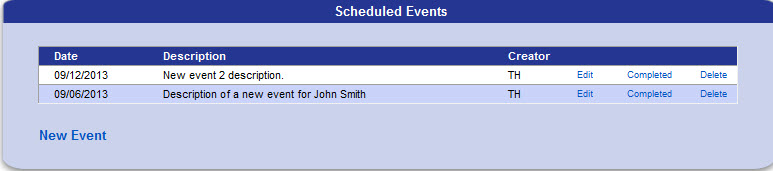
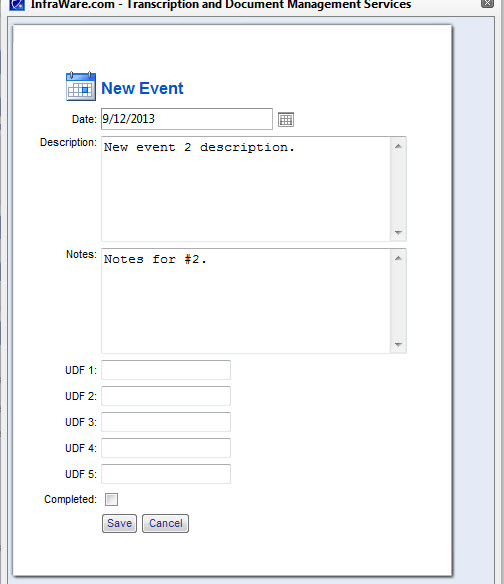
- To create a new event click on the New Event link in the bottom left corner if the Scheduled Event section. A new window will pop up where you can enter the information and click Save to complete the process.
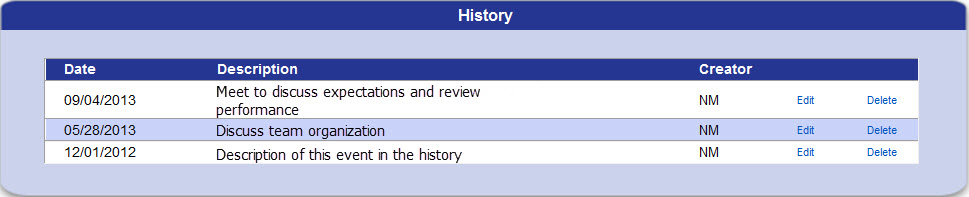
- History: The History section includes events completed in the past. The list includes a Date, Description, and the Creator of the event. From this list you can Edit or Delete events.
- Profile: The Profile section of the HR screen allows you to store information for the selected transcriptionist. All settings are optional. This includes a drop-down menu for Employment Status, calendar control for Resource Since, and freeform sections for Professional Strengths and Experience, Personal Notes, and Training. Choose a Account Manager and/or Workflow Coordinator from the drop-down menus. The Account Manager and Workflow Coordinator settings are used to filter the Account Dashboard, Users page, and can be used as parameters on some available Reports. You can enter Address, Home Phone, Cell Phone, Alternate Email, and Month/Day of birth information. There are also 5 UserDefined fields available. The date and time of the Last ITC Settings Backup and Last ITC Communication are listed for information purposes.

- Production History (last 30 days): The production History section includes a breakdown of production for the last 30 days. See details below for descriptions of each section.
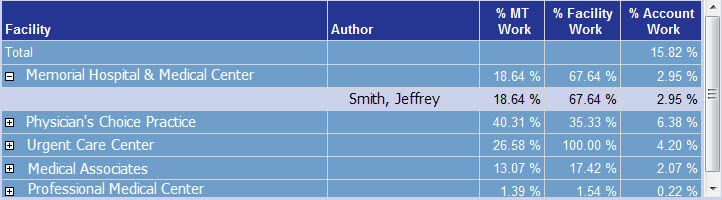
- Breakdown of Jobs by Facility and Author: The first section includes a spreadsheet with breakdown of work completed by the selected transcriptionist for each Facility. Details include Author, % MT Work, % Facility Work, and % Account Work. By default this is summarized at the Facility level. Click on the plus sign to drill into more details.
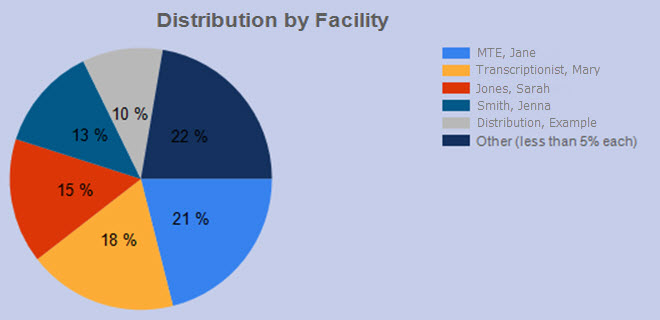
- Distribution by Facility: Distribution by Facility is represented by a pie chart showing a breakdown of work by Facility for work completed during the time specified in the section title.
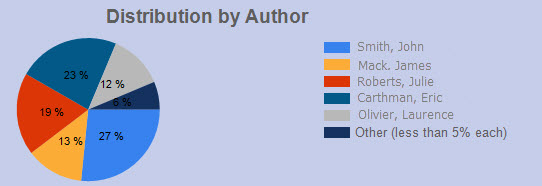
- Distribution by Author: The Distribution by Author is represented by a pie chart showing the distribution of work completed by author for work completed during the time specified in the section title.
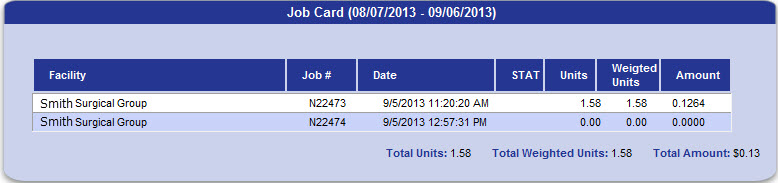
- Job Card: The Job Card section includes a list of jobs completed by the transcriptionist within the past 30 days. The Facility, Job #, Date Transcribed, STAT indicator, Units, Weighted Units, and Amount columns include pay information for each job completed during the indicated time frame. At the bottom you will see totals.
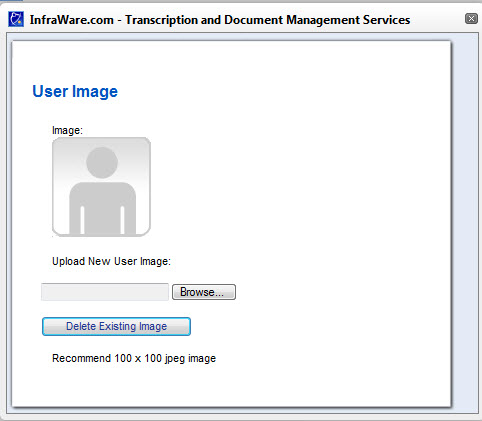
- File Upload: The File Upload section allows for the upload of files to be included in the HR profile.
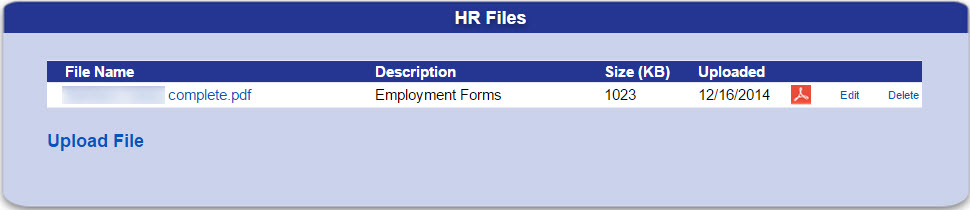
- To upload a file click on Upload File.
- A popup window will open.
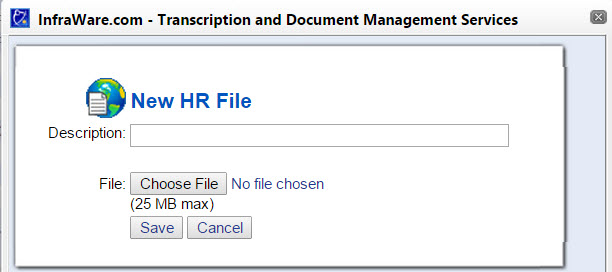
- Type a Description for the file.
- Click on Choose File to navigate to the file location.
- Click on Save to complete the process.
|
| Related Links |
|
 |
What is the Account Dashboard?
Account Dashboard Explained |
| Last Updated |
|
| Friday, November 11, 2016 |

.jpg)