| Answer / Solution |
 |

Facility CRM Explained
Summary
The Facility CRM screen provides an easy way to keep track of Upcoming Events, History, Contacts, Profile information, and Production History for a Facility. The CRM feature is only available in the IMC.
Requirements
- An Administrator login ID and password for the IMC.
Location:
- Log into the IMC with your Administrator username and password.
- Click the Administration tab ⇒ Facilities sub-tab.
- Select a Facility from the list and click on the CRM icon on the far right.

Options:
- CRM - Settings Slider: You may navigate between the CRM view and Settings view on the facility profile by clicking on your selection at the top of the screen.
.jpg)
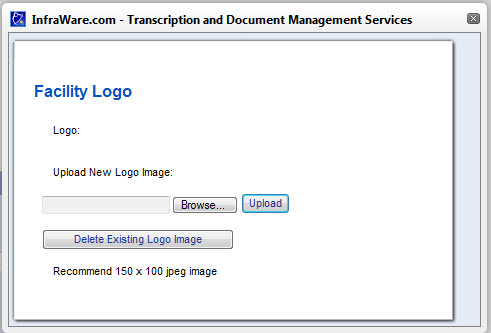
- Facility Logo: A Facility Logo can be uploaded by clicking on the image placeholder on the top of the Facility CRM screen on the right. This will open a new pop-up window.

- Click Browse to locate the image and then Upload. You can replace an existing image by clicking on Delete Existing Logo Image. Note the recommended size of 150 x 100, jpeg image.
- Download PDF: The download to PDF option allows you to download a PDF version of the events, contacts, and history on your CRM page. Once you click the download link you will be given the option to Download or Open the file, depending on your browser security settings.

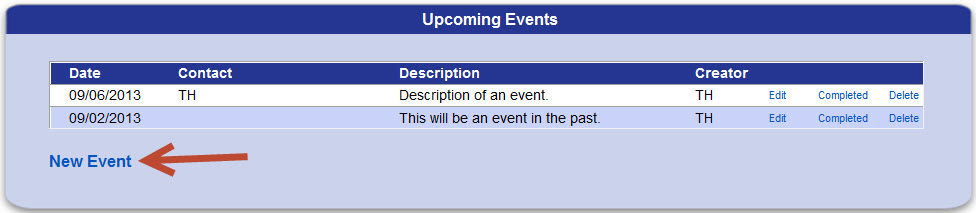
- Upcoming Events: This section includes a list of scheduled events. These events will be displayed on the Account Dashboard screen. See KB685 for details. The list includes information on Date, Contact, Description, and the Creator of the event. Options include:
- Mark an event as Completed, or Delete an event from the list.

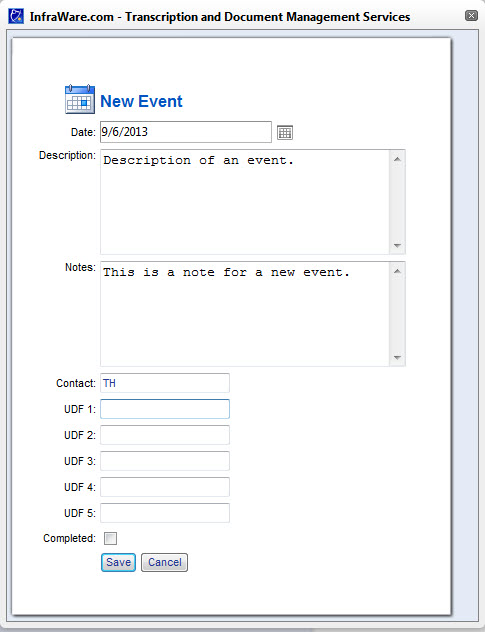
- Create a New Event by clicking on the link and entering the details.
- History: The History includes a list of events completed. These events will be displayed on the Account Dashboard screen. See KB685 for details. The list includes a Date, Contact, Description, and the Creator of the event. From this list you can Edit or Delete events by clicking the link to the right of the entry.

- Contacts: The Contacts section of the CRM screen includes a list of Contacts and shows the Department, First Name, Last Name, Email, and Phone. From this list you can Edit or Delete a contact.

- Profile: The Profile section includes an area to keep track of important information for a Facility.
- Specialty: Enter the specialty for this facility here.
- Source: Enter the Source for this facility here. This optional. To create a new source choose <NEW> option and type the name of the new Source.
- Customer Since: Enter the date your relationship with this customer started.
- EMR: If they use an EMR enter the name here.
- Authors (total/active): This will show you the number of authors for this facility, and of those how many are active.
- Payment Terms: Indicate any note about the payment terms for this facility.
- GL Code: General Ledger code.
- PO Number: PO Number for this Facility.
- Organization: If this Facility is part of a larger organization you may enter that.
- Time Zone: Time zone set for this facility on the Facility Settings page.
- Account Manager: Setting an Account Manager and MT Supervisor from the drop-down menus can will allow you to filter listings on the Facilities, Account Dashboard, First Draft - Authors, and First Draft Editors pages.
- Workflow Coordinator: Select the Workflow Coordinator from the drop-down menu. This will be used to filter the Account Dashboard, First Draft Editors page and as a parameter on some reports.
- Dictation via: Choose from the drop-down menu to select how dictation enters the InfraWare 360 platform. Drop-down menu options include: InfraWare Systems, 3rd Party Systems, Not specified.
- Transcription via: Specify how work is transcribed for this Facility. Drop-down menu options include: InfraWare Systems, 3rd Party Systems, Not specified.
- Requires Detailed Billing: Check this box if this Facility requires detailed billing on the Billing Report.
- Notes: Enter any pertinent notes about the facility.

- Production History
- Choose to display the chart using Lines or Minus by clicking the appropriate radio button.

- Compare Periods: The Compare Periods feature allows an Administrator to track sources of increases and/or decreases in volume. See KB940 for details.

- Facility Trend: Facility Trend is represented by a line graph showing data for total Lines and Minutes for the time frame indicated.

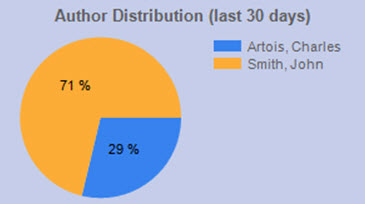
- Author Distribution: Author Distribution is represented by a pie chart showing a breakdown by Author for dictations for the time frame indicated.
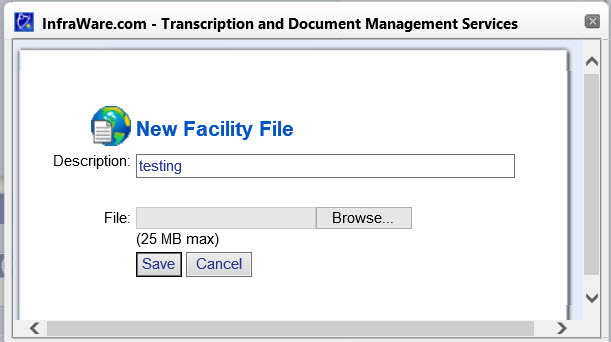
- Facility Files: Administrators can upload files pertinent to the management of a Facility. Any document you upload to the CRM screen will not be available to facility users in the EHR portal.
.jpg)
Available actions include the following:
- File Name: Click the file name to open the file.
- Description: This can be entered by an Administrator at the time of upload.
- File Type Icon: Click the icon to open the file.
- Edit: Opens a popup where the file description can be modified and saved.
- Delete: Deletes the file from the system.
- Upload File: Opens a popup with options for entering a file Description and selecting the file. There is a 25 MB maximum file size.
- One Time Charges and Reductions: Use this option to add a One-time charge or reduction for a Facility.
- Steps: Select Charge or Reduction from Add New drop-down menu, set a Date, enter an Amount, give a Description, and then click Add.

- Recurring Plans: Recurring Plans can be used to add Charges or Reductions to be automatically applied on a recurring basis for a Facility.
- Steps: Select the Frequency, Start On date, Amount, give it a Description, and then click Add to save the Plan.

- Notes:
- Recurring plans must always be entered with a future date.
- Negative values can be entered to indicate a Reduction (example: Enter "-5.00" in the Amount). Reductions will be shown in parenthesis ($5.00) in the Recurring Plans listing:

|
| Related Links |
|
 |
What is the Account Dashboard?
Account Dashboard Explained |
| Last Updated |
|
| Wednesday, December 5, 2018 |
